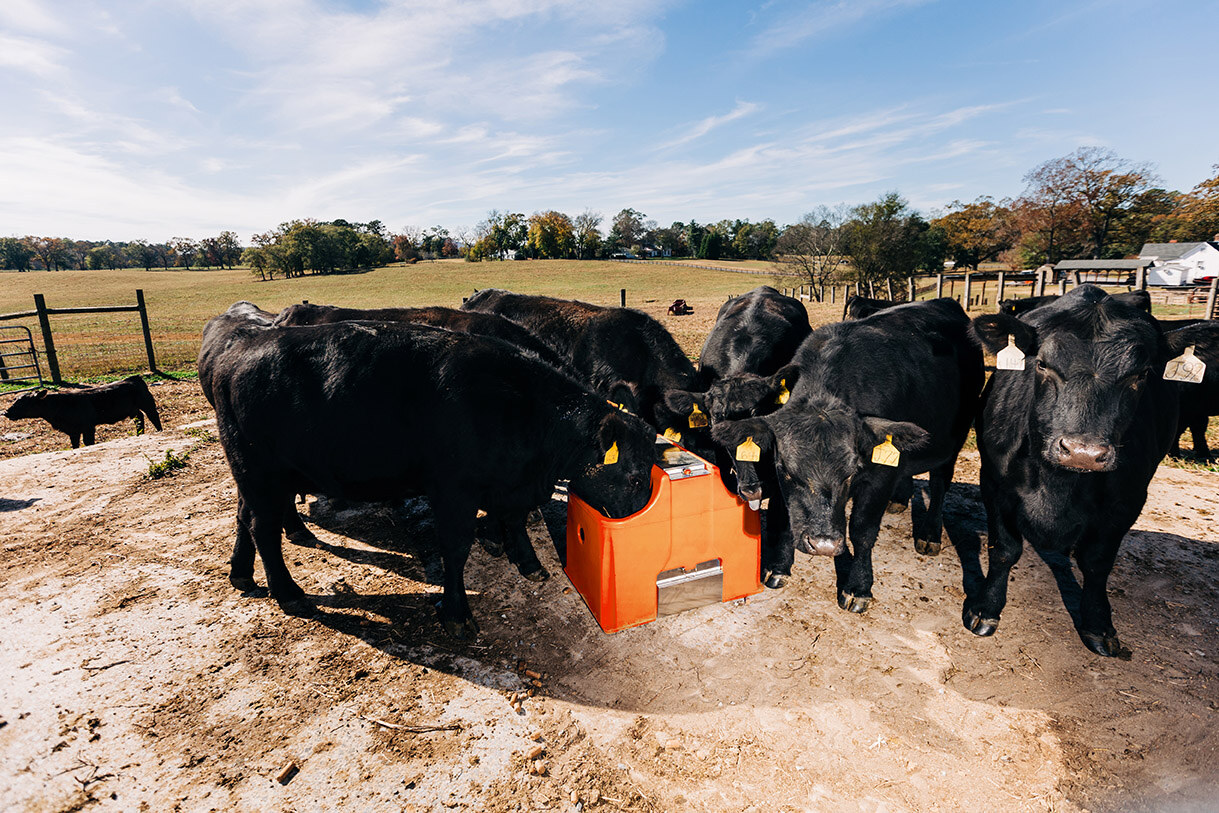
Automatic livestock waterers are a great addition to any farm and act as the main source of hydration for livestock. This type of waterer supplies livestock with a constant flow of fresh water because they are connected to a water supply line. But how exactly do they function?

THE Mechanics
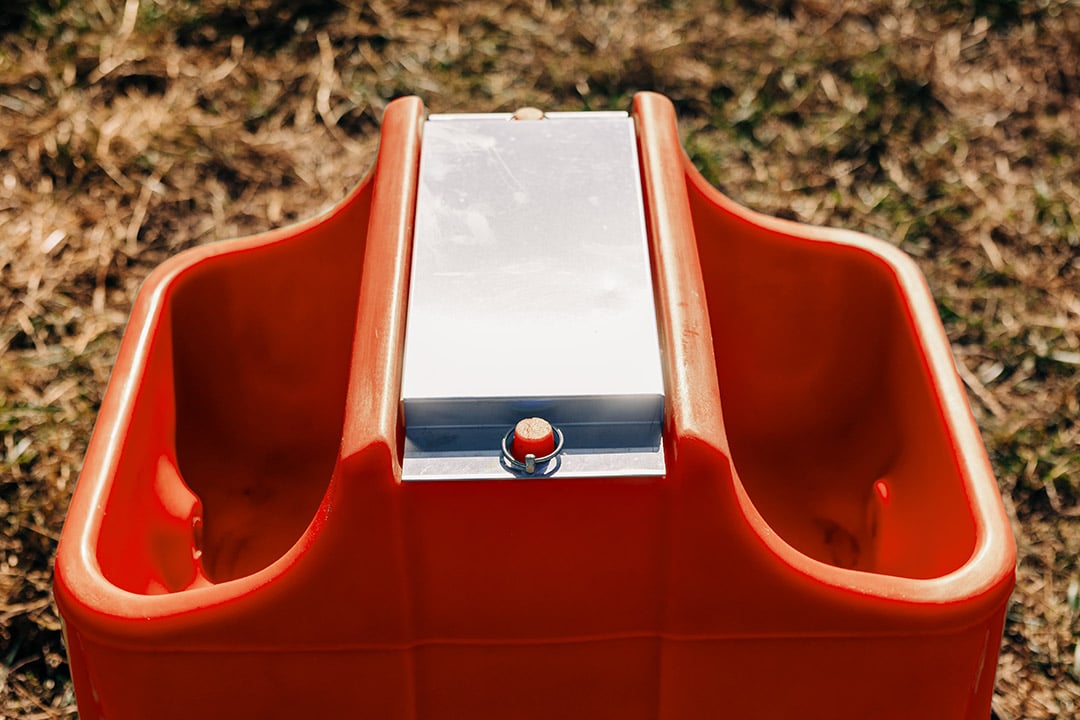
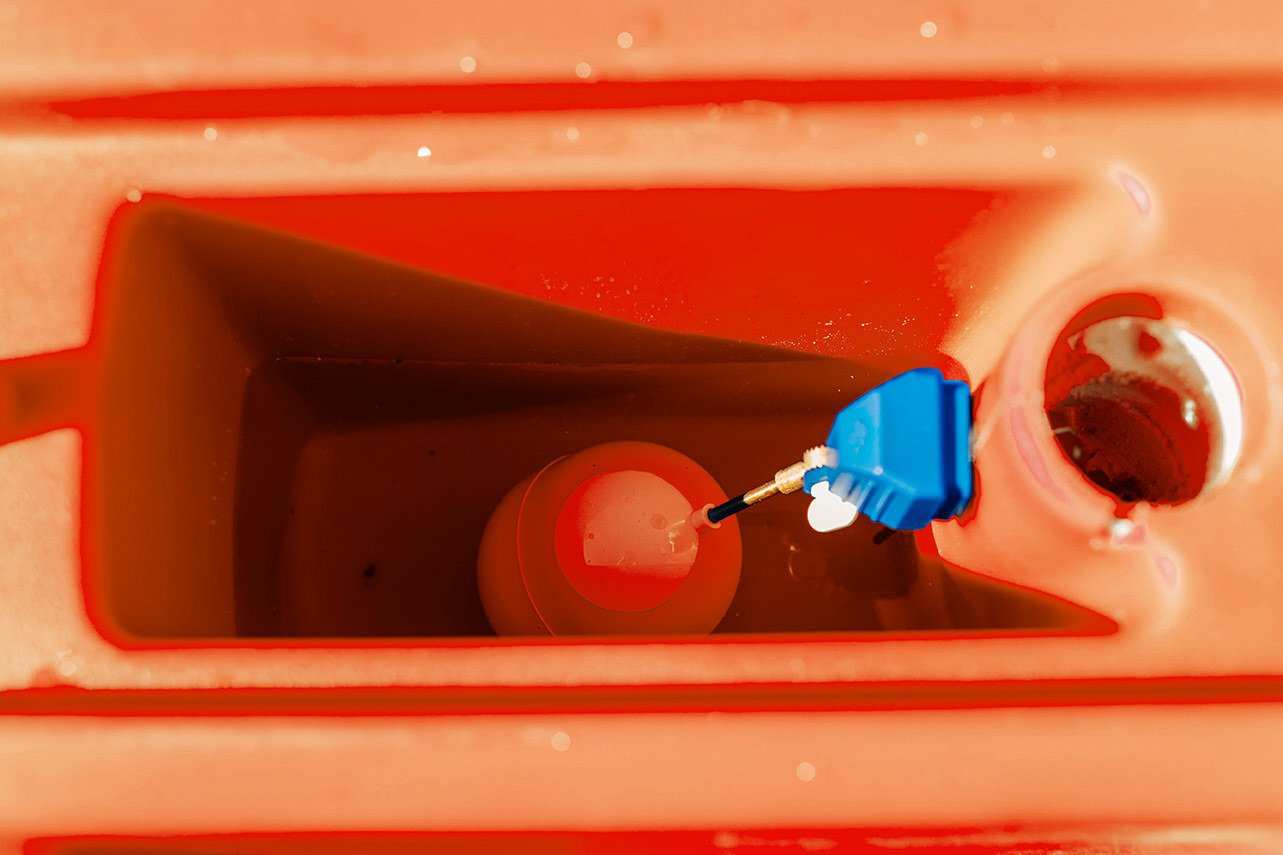
The system's core is the float and valve mechanism, a finely tuned setup that ensures a consistent water flow without wastage. As your animals drink, the water level decreases, triggering the float to signal the valve to open, replenishing the trough. Once optimal levels are reached, the valve closes, conserving water and minimizing maintenance.
If you think that operation sounds familiar, it is probably because it is. An automatic livestock waterer and a toilet share a similar mechanism in their use of a float valve system, which maintains a consistent water level within their respective reservoirs.
Automatic livestock waterers can come insulated, meaning animals can drink water all year round because of the insulation within the waterers. The insulation provides animals with ice-free water in the winter and cooler water in the summer.
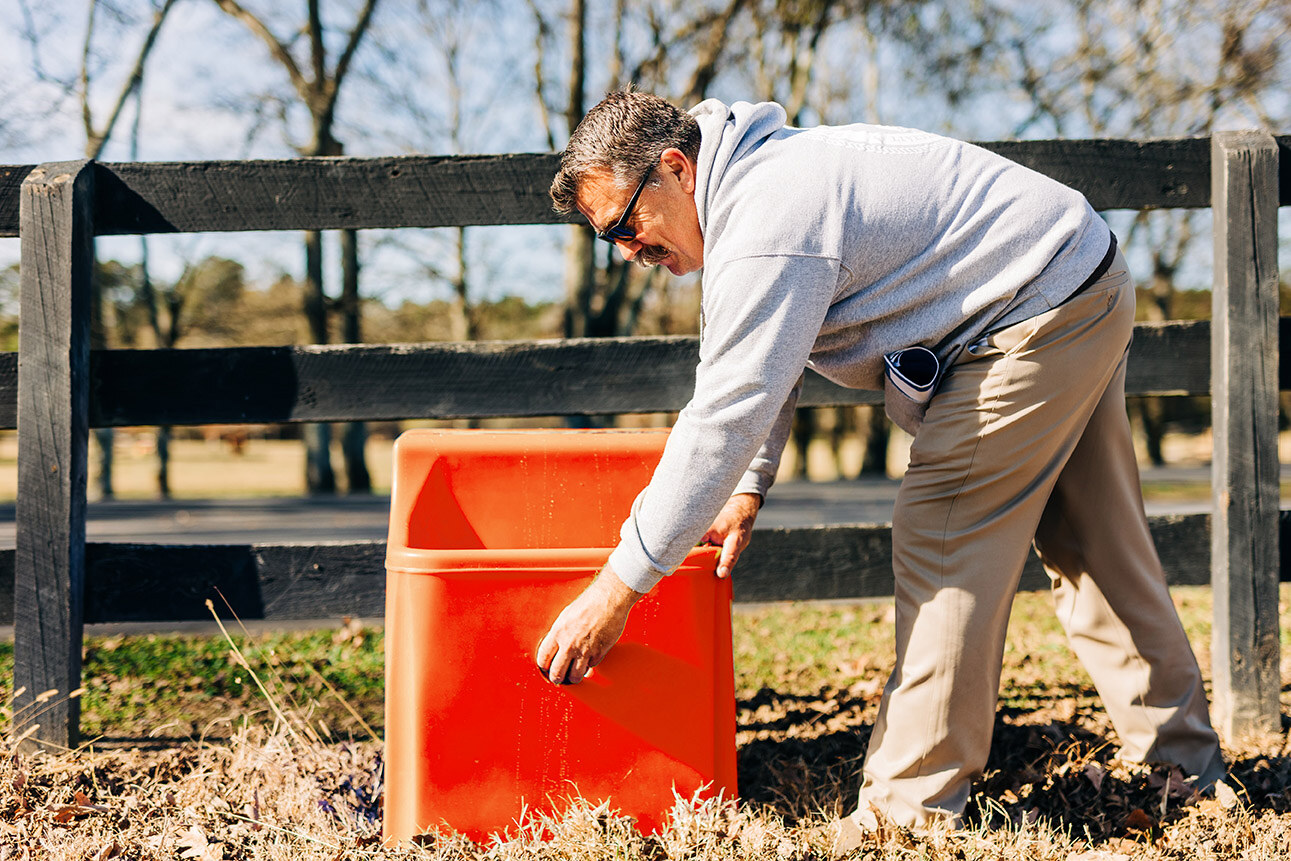
Maintenance may seem scary regarding automated systems, but automatic waterers are usually designed with simplicity and ease of upkeep in mind. Occasional checks are all it takes to ensure everything is running smoothly. Keep an eye on the float and valve mechanism, ensuring they're free of debris and functioning correctly. If cleaning is required, it's a straightforward process – just a quick rinse and wipe down to maintain water quality. Should any parts need replacing, companies typically have all replacement parts listed on their website.

Installing the Waterer
Installing an automatic livestock waterer may seem daunting, but it's pretty straightforward.
- Selecting the Location: The first step is to choose the optimal location for your waterer. Consider factors such as proximity to your livestock's grazing area, accessibility to water supply lines, and level ground for stability.
- Preparing the Site: Once you've chosen the location, prepare the site by clearing any debris and ensuring the ground is level. This will provide a stable foundation for the waterer and ensure proper functionality.
- Connecting to Water Supply: Connect the waterer to a water source. This can be done by connecting to an existing waterline, and piping to connect the source to the waterer. Ensure the water flow is constant and steady.
- Mounting the Waterer: With the site prepared and the water supply connected, it's time to mount the waterer. Depending on the model, this may involve securing the waterer to a concrete pad or directly to the ground using anchor bolts. Follow the manufacturer's instructions carefully to ensure proper installation.
- Electrical Connection (if applicable): Automatic waterers may require an electrical connection for features such as heating elements or electronic controls. If your waterer requires electricity, ensure that it is safely connected according to local electrical codes.
- Testing and Adjustments: Once the waterer is installed, it's important to test its functionality and make any necessary adjustments. Check for proper water flow, ensure that the float and valve mechanisms are functioning correctly, and adjust water level settings as needed.
- Final Checks: Before putting the waterer into full use, perform a final inspection to ensure everything is in working order. Double-check all connections, inspect for leaks, and make any final adjustments as necessary.
Automatic waterers are worth the investment. These livestock waterers offer a reliable solution to the hydration needs of livestock animals. With a robust float and valve mechanism, weather-resistant construction, and simple maintenance requirements, they provide peace of mind knowing your animals have access to clean, fresh water at all times. Whether it's summer's heat or winter's chill, these waterers stand ready to keep your livestock happy and healthy.
